May 25, 2026 • Callum Draper • 9 min reading time • Prices verified June 6, 2026
Grain Mill Buying Guide: Why Your Crush Is Costing You Mash Efficiency Points
If you’ve ever followed a recipe exactly — right grain bill, right temperatures, right times — and still ended up with a beer that finished thinner than expected or needed extra grain to hit your target gravity, there’s a good chance your mill is the culprit. A grain mill is the piece of equipment that cracks open malted barley (and other grains) before you steep them in hot water. That cracking process — called the “crush” — exposes the starchy interior so your mash (the hot-water soak that converts starch to sugar) can do its job. A crush that’s too coarse leaves starch locked inside the husks. A crush that’s too fine turns everything to flour and clogs your system. The gap between a mediocre crush and a dialed-in one can easily swing your mash efficiency — the percentage of available sugar you actually extract — by 10 to 15 percentage points. This guide walks you through every meaningful mill decision, from the $50 entry-level rollers to the motorized two-roller and three-roller setups favored by serious grain-to-glass brewers.
| EDITOR'S PICK[WONDERMILL Junior Deluxe Grain…](https://www.amazon.com/dp/B01C85NL5A?tag=greenflower20-20) | Mid-tier[FERRODAY Malted Grain Mill for…](https://www.amazon.com/dp/B0BXPJF2KF?tag=greenflower20-20) | Budget pick[VEVOR Manual Grain Mill](https://www.amazon.com/dp/B0GSLHN1W5?tag=greenflower20-20) | |
|---|---|---|---|
| Burr type | Stone + Stainless | Stainless rollers | Stainless rollers |
| Motorized | ✗ | Drill compatible | ✗ |
| Capacity (hopper) | — | — | 1.06 gal |
| Adjustable gap | — | ✓ | ✓ |
| Includes base | — | — | ✓ |
| Price | $329.95 | $92.90 | $83.99 |
| See on Amazon → | See on Amazon → | See on Amazon → |
Why Crush Quality Is a Bigger Variable Than Most Brewers Expect
When brewers chase mash efficiency, they usually audit their water-to-grain ratio, mash temperature, or recirculation time first. Those variables matter. But as Brew Your Own Magazine’s milling technique feature notes, the crush is upstream of all of them — if the grain isn’t cracked correctly, nothing downstream compensates for it.
Here’s the core problem: a malt kernel has a tough outer husk protecting a starchy endosperm inside. You want to crack the husk open and shred the endosperm into coarse grist while keeping the husk as intact as possible. The husk does double duty — it’s your mash’s natural filter bed when you drain (lauter) the wort out. Destroy the husk and you get a stuck sparge and a cloudy, astringent beer. Leave it too intact and the starch never fully hydrates.
The distance between the two rotating cylinders (rollers) that crack the grain is called the gap. Gap setting is the single most consequential adjustment on any mill. John Palmer’s How to Brew, available in full at howtobrew.com, establishes the benchmark: a gap of roughly 0.030–0.045 inches (0.76–1.14mm) works for most base malts on a two-roller mill. But that range interacts with roller diameter, roller knurling pattern, and whether you’re milling a thin-husked malt like Pilsner or a thicker domestic two-row.
What “Efficiency Points” Actually Means in Practice
By the numbers:
- Industry-standard homebrew mash efficiency target: 72–80% for most extract-to-all-grain beginners
- Dialed-in two-roller mill with correct gap: owners and reviewers consistently report 80–88% efficiency on well-modified base malts
- Coarse or inconsistent crush: reported efficiency loss of 8–15 percentage points versus optimal
- 10 efficiency points on a 10-lb grain bill at 1.060 OG target ≈ roughly 0.5–0.75 lbs of extra base malt needed to compensate per batch
The Beersmith blog’s post on improving mash efficiency frames this as a compounding cost: if you’re buying grain in 50-lb sacks, a chronic 10-point efficiency deficit costs you real weight per brew day, every brew day.
The Three Mill Types: A Decision Framework
Single-Roller Mills (Skip These)
Single-roller mills drag grain against a fixed plate. They’re cheap — sometimes bundled in starter kits — and they’re also the reason a lot of new brewers conclude that all-grain brewing is “inconsistent.” The crush is uneven by design. Craft Beer & Brewing’s grain mill buyers guide doesn’t recommend them for any brewer past the extract stage, and neither does this one. If you inherited one, replace it before you chase efficiency gains anywhere else in your system.
Two-Roller Mills: The Right Starting Point for Most Brewers
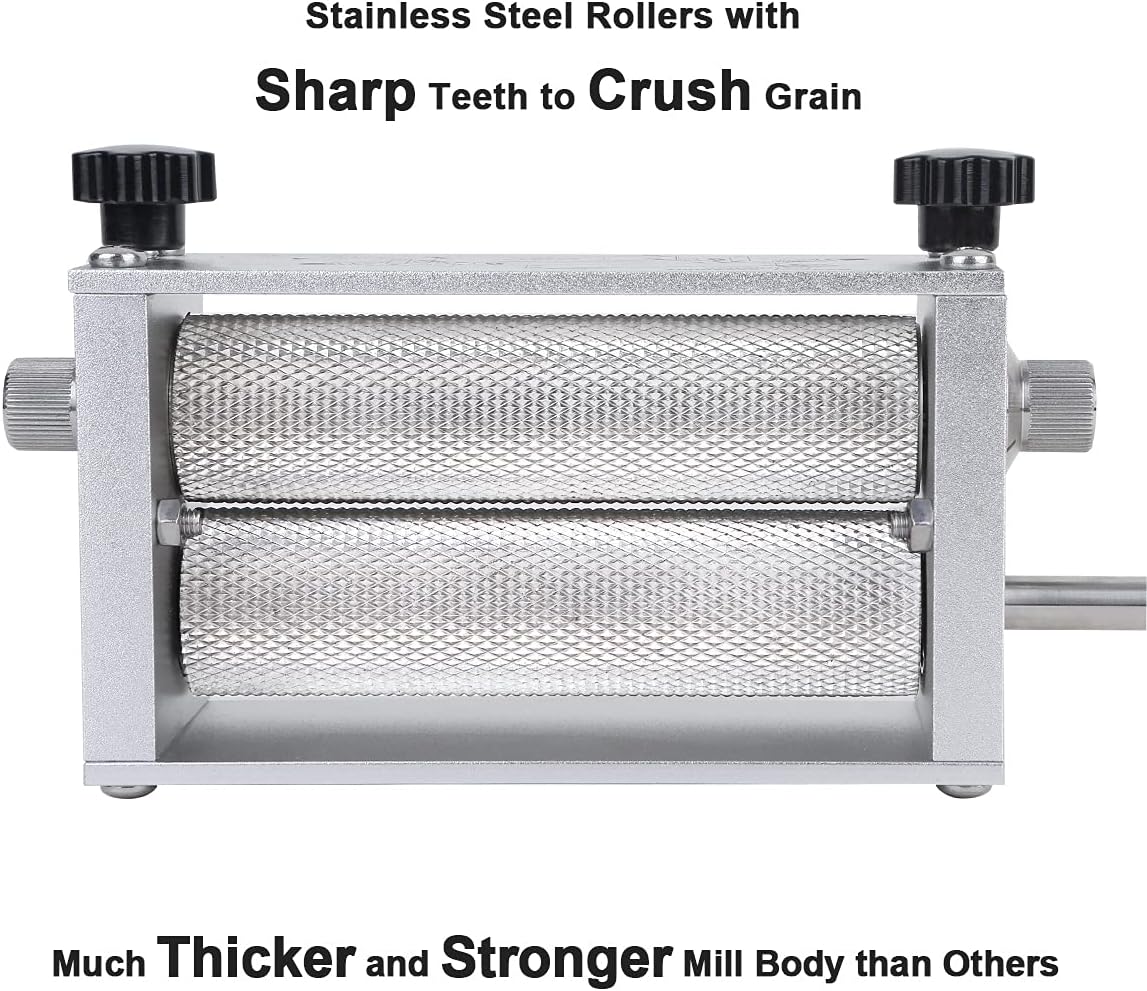
Two-roller mills are the workhorses of homebrewing. Two knurled (textured) cylinders rotate against each other; you set the gap, drop grain in the hopper, and out comes grist. The variables that separate a $70 two-roller from a $200 one are roller diameter, roller length (which determines throughput width), gap consistency across the full roller face, and bearing quality.
Roller diameter matters more than most buyers realize. A larger diameter roller grabs and pulls the grain through more consistently than a small one, especially with slippery Pilsner or wheat malt. The Craft Beer & Brewing guide notes that rollers in the 1.25–1.5-inch diameter range (common on budget mills) are functional but prone to grain slipping or riding on top of the rollers rather than pulling through cleanly. Rollers at 1.5 inches and above — characteristic of mills like the Barley Crusher, Monster Mill MM-2, and Cereal Killer — pull grain more reliably.
Gap adjustment mechanisms fall into two categories:
- Fixed-gap with set screws — you adjust with feeler gauges and a screwdriver, then lock it in. More stable once set; fussier to change.
- Knob/dial adjustment — faster to move between gap settings (useful if you mill different malt types), but cheaper designs can drift under load.
Owners across aggregated reviews of the Monster Mill MM-2 and MM-3 (two- and three-roller versions, respectively) consistently report gap stability as one of the reasons they hold their efficiency numbers batch over batch. The Barley Crusher, long a forum staple, gets similar marks for its micrometer-style adjustment, which lets brewers dial in repeatable settings.
Motorizing a two-roller mill is the single most practical upgrade a serious brewer can make to their mill setup. Hand-cranking a pound of grain per 30 seconds is sustainable for a 10-lb bill; it’s miserable for a 20-lb DIPA grain bill. A 3/8-inch variable-speed drill attached to the drive shaft is the lowest-cost motorization path — owners report this works well with mills that have a hex-shaft drive port. Purpose-built motor mounts (available from manufacturers like Monster Mill) or a dedicated 1/3 to 1/2 HP DC motor on a permanent mount is the next step up, and it’s what most Spike Brewing or Blichmann BrewEasy operators running 10+ gallon batches end up at.
Three-Roller Mills: For Brewers Who Have Already Maximized Two-Roller Performance
A three-roller mill adds a third cylinder that gives the grain a second pass immediately after the first crack. The result is a more uniform grist with finer flour separation — the husks stay more intact while the endosperm gets more thoroughly shredded. Brulosophy’s exbeeriment data on crush gap and efficiency outcomes points toward diminishing returns between a well-dialed two-roller and a three-roller at most homebrew scales, but the three-roller does produce measurably more consistent particle size distribution, which matters if you’re brewing lagers or highly adjunct-forward grain bills where haze and clarity are part of the recipe goal.
The Monster Mill MM-3 and the Malt Muncher three-roller are the most-cited options in this category. They run $200–$350 before motorization. If you’re already hitting 84–86% efficiency on a two-roller and want the last 2–3 points, or if you’re operating at a nano scale where grain bill costs make every efficiency point economically meaningful, the three-roller earns its cost. If you’re still dialing in your two-roller gap, buy a feeler gauge set before you buy a new mill.
Gap Setting: The Free Upgrade You’re Probably Skipping
This deserves its own section because it’s the highest-ROI action available to any brewer who already owns a mill.
The feeler gauge method: A set of automotive feeler gauges costs under $10. Set your mill gap, close it to zero (where the rollers just touch), then back out to your target gap. A credit card is approximately 0.030 inches — a coarse starting point. Most brewers end up between 0.032 and 0.040 inches for domestic two-row; thinner-husked malts like Pilsner or Maris Otter sometimes benefit from a slightly tighter 0.028–0.032-inch gap because the husks are more delicate and shred less aggressively.
Test your crush visually before you brew: After milling a half-cup of grain, spread it on a white surface. You’re looking for:
- Husks cracked open but largely intact (not pulverized)
- Endosperm broken into 3–6 pieces, not flour
- Minimal whole uncrushed kernels (more than 5% whole kernels is too coarse)
- Minimal pure flour (more than 20% flour is too fine for most lautering setups)
If you use a BIAB (brew-in-a-bag) setup — where the grain sits in a fabric bag rather than a traditional false bottom — you can run a finer gap (0.025–0.030 inches) because you’re not relying on the grain bed as a filter. BIAB brewers on the Beersmith blog community discussions consistently report efficiency gains of 5–8 points when they tighten their gap versus the “standard” two-roller setting.
Mill Decision Rules: If X, Then Y
Here’s the decision frame based on where you are in your build:
If you’re on a pre-crush purchase from your homebrew shop: Stop immediately if you can. Shop crush is often coarser than optimal and was probably set weeks ago. Mill fresh yourself — stale-crushed malt loses enzymatic activity and picks up moisture. The Brew Your Own milling feature specifically flags pre-crushing as one of the most common silent efficiency killers.
If you’re brewing 5-gallon batches with a 10–15 lb grain bill and efficiency under 75%: A $130–$180 two-roller with a feeler-gauge gap adjustment will solve the problem before anything else will. Monster Mill MM-2 and the Barley Crusher are the two most consistently reviewed options at this tier. Don’t buy a three-roller until you’ve exhausted gap tuning on a two-roller.
If you’re brewing 10-gallon batches on an Anvil Foundry 10.5, Grainfather G30, or similar, with grain bills of 20+ lbs: Motorize. Either drill-drive your existing mill with a 3/8-inch variable-speed drill, or invest $250–$350 in a permanent motor mount setup. Hand-cranking 22 lbs of grain is a real throughput problem, and inconsistent cranking speed causes inconsistent crush.
If you’re at 83%+ efficiency already and want the last push, or you’re operating at a nano/pilot system scale: A three-roller mill or a purpose-built malt mill like the Malt Muncher is a reasonable capital expenditure. The consistency gain matters more at scale where grain cost is real money.
If your efficiency is inconsistent batch-to-batch with the same recipe: Before buying anything, check for roller gap drift (set screws loosening over time), check grain moisture (very dry grain mills differently than fresh-delivered malt), and verify your water volume measurements. The mill is often the culprit — but consistency problems can also trace back to variable mash thickness or temperature.
The Bottom Line
Your crush is the one variable that touches every beer you make and costs nothing to optimize once you own a decent mill and a feeler gauge. Most brewers who chase efficiency gains through water chemistry adjustments or mash schedule tweaks are working downstream of a gap setting they’ve never verified. Fix the mill first. Then fix everything else.
The investment ladder here is forgiving: a quality two-roller with a verified gap covers 90% of homebrewers at 90% of batch sizes. Motorization is the practical upgrade most serious brewers eventually make. The three-roller is a genuine tool for brewers who have already extracted every point their two-roller can give. Buy for where you are, not where the forums say you should aspire to be.