May 14, 2026 • Callum Draper • 9 min reading time • Prices verified June 6, 2026
Mead Making From 1-Gallon Starter Jars to 5-Gallon Honey Wine: Which Kit Actually Teaches You Something
Mead — honey wine, essentially — is fermented honey diluted with water and pitched with yeast. That’s it. No grain conversion, no hop schedule, no wort chilling. It sounds simple enough that a lot of brewers assume they can figure it out by instinct, and a lot of them end up with a gallon of something thin, hot, and vaguely unpleasant sitting in a closet for eight months. The difference between a mediocre first batch and a genuinely good one comes down to understanding a handful of specific variables: yeast nutrition, starting gravity (how dense with sugar your must — the pre-fermented honey-water mixture — actually is), and pH control. A good starter kit either teaches you those variables or it doesn’t. This guide sorts out which options are worth your money at the 1-gallon and 5-gallon scale, and which ones are just jars with airlocks.
Why Mead Breaks Beginners (And Why It Doesn’t Have To)
Here’s the honest problem with most entry-level mead kits: honey is almost completely devoid of the nitrogen compounds and micronutrients that yeast need to ferment cleanly. Beer wort gets most of those nutrients for free from malted grain. Honey gives yeast almost nothing. If you just dissolve honey in water, pitch yeast, and airlock it — which is exactly what most beginner kit instructions tell you to do — you’re likely to get a stalled fermentation, a hot fusel-forward finish, or a mead that takes 18 months to become drinkable because it’s working through off-flavor compounds the stressed yeast produced early on.
The Homebrewers Association’s Introduction to Meadmaking resource guide is direct about this: yeast nutrient additions — specifically staggered nutrient additions during active fermentation, not just a single dump at pitch — are the single biggest quality lever available to a mead maker. BYO’s comprehensive mead feature from their 2024 issue describes the TOSNA protocol (Tailored Organic Staggered Nutrient Additions) as now the baseline expectation for intermediate mead makers, not an advanced technique. Craft Beer and Brewing’s explainer on the TOSNA protocol breaks down the math: you’re targeting roughly 200–250 ppm of yeast-assimilable nitrogen (YAN) distributed across additions at 24, 48, 72, and 96 hours post-pitch rather than a single addition at the start.
A kit that teaches you that is worth buying. A kit that ships you a jar, some generic “yeast nutrient,” and vague instructions is charging you for the jar.
The 1-Gallon Tier: What You Actually Learn
The case for starting small
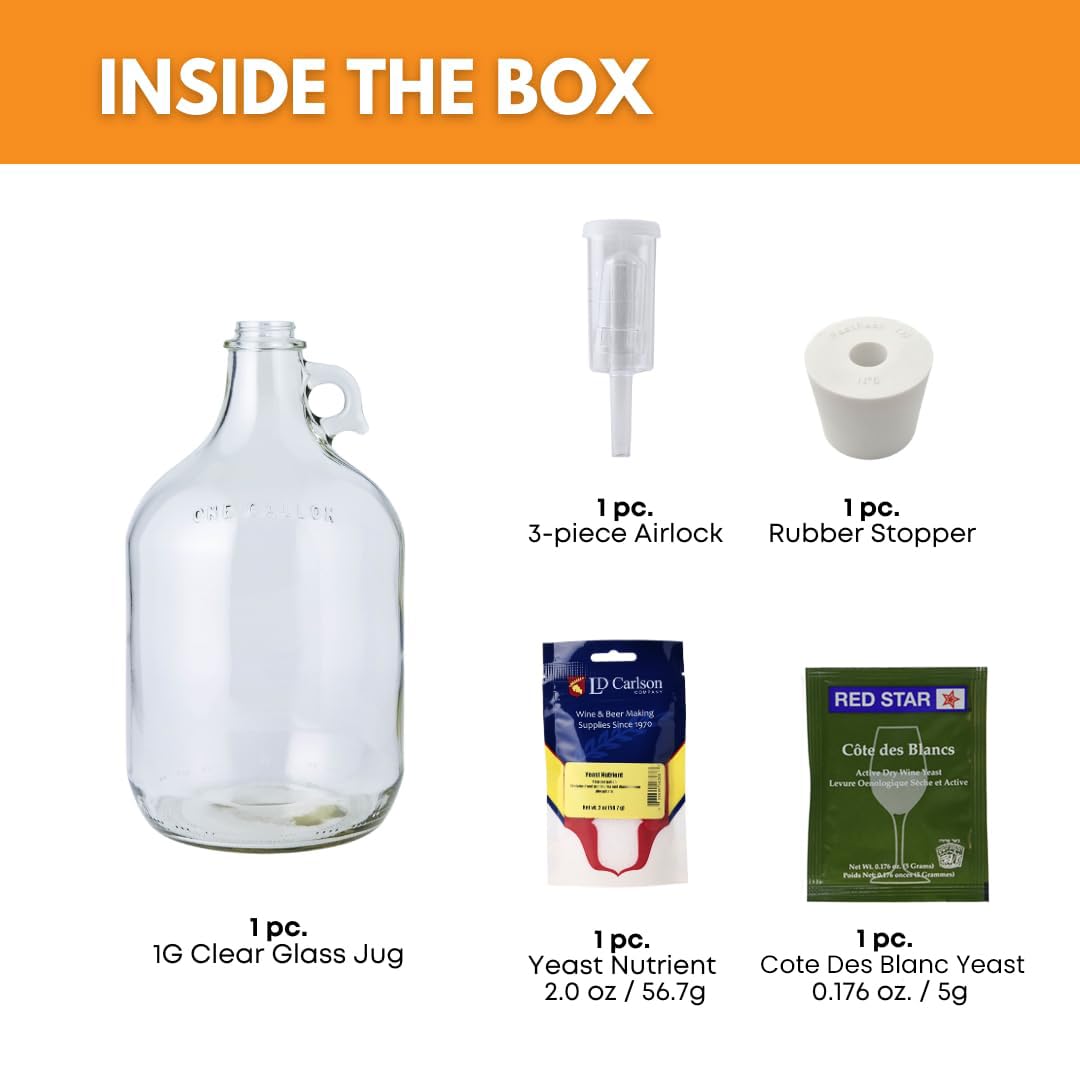
A 1-gallon batch uses roughly 2.5–3 lbs of honey depending on your target gravity, which means you’re spending $15–$25 on honey per experiment. That’s cheap enough to run three or four batches back-to-back while you dial in your nutrient protocol, yeast selection, and baseline water chemistry — the three variables that produce the most dramatic improvements in mead quality. Owners of smaller-format mead kits consistently report that the biggest value isn’t the equipment (a 1-gallon glass jug, a bung, and an airlock have a combined retail value of maybe $8) but the recipe card and instruction sequence that ships with the better kits.
What separates good 1-gallon kits from bad ones
The differentiator is whether the included instructions explain why, not just what. According to MoreBeer’s Getting Started with Mead overview, the two most common beginner failure modes are under-pitching yeast relative to high-gravity must and failing to degas — physically stirring or agitating the fermenting mead to release dissolved CO₂ that otherwise creates osmotic stress for yeast. Good kit instructions walk you through both. They’ll tell you to rehydrate dry yeast with GoFerm (a rehydration nutrient), make your staggered Fermaid-O or Fermaid-K additions on a schedule, and degas twice daily during the first 72 hours.
The kits worth recommending at this tier include nutrient packs (not just generic “yeast nutrient” — look for Fermaid-O or Fermaid-K listed by name), a properly sized airlock with a bung that actually fits a standard 1-gallon jug, and either a hydrometer or a refractometer to track gravity. If a kit doesn’t include a gravity measurement tool, you’re flying blind on fermentation progress and finished ABV.
By the numbers — 1-gallon traditional mead baseline
| Variable | Target range |
|---|---|
| Starting gravity (OG) | 1.080–1.110 (moderate to semi-sweet) |
| Target YAN | 200–250 ppm total |
| Fermaid-O additions | ~2–2.5 g total, split across 4 additions |
| Typical fermentation temp | 65–72°F (18–22°C) |
| Time to drinkable | 6–12 weeks with proper nutrition |
That last row — 6–12 weeks vs. 12–18 months — is the quality difference proper nutrients buy you. Palmer’s How to Brew online edition covers the underlying fermentation biology: well-nourished yeast produce fewer fusel alcohols and clean up acetaldehyde (a green apple off-flavor) more efficiently, which collapses conditioning time dramatically.
Stepping Up to 5 Gallons: When It Makes Sense and What Changes
The economics of scaling
A 5-gallon batch requires 12–15 lbs of honey at a moderate gravity target. In May 2026, bulk wildflower honey runs roughly $4–$6/lb from homebrew suppliers; varietal honeys (orange blossom, buckwheat, tupelo) run $7–$12/lb. That puts your honey cost alone at $50–$180 per batch before equipment. This is the point where your choice of fermentation vessel, nutrient protocol, and yeast strain starts to have real money riding on it.
What the 5-gallon tier actually demands
At 5 gallons, the limits of basic equipment become real. A standard 6-gallon plastic bucket ferments mead adequately but offers no view of fermentation activity and scratches over time — those scratches harbor bacteria in long-conditioning meads. Reviewers at the intermediate level consistently point to the upgrade to a glass carboy or a small conical fermenter as the quality-of-life jump that makes 5-gallon mead production sustainable rather than stressful.
More importantly, the nutrient math scales linearly but the logistics don’t. Managing staggered additions in a 1-gallon batch that you can shake and swirl is easy. Managing degassing in a 5-gallon carboy means either a drill-mounted degassing wand (a few dollars, highly recommended by Craft Beer and Brewing’s mead writers) or a CO₂ purge-and-stir technique. Owners who skip this step at 5 gallons report more frequent stuck fermentations than at 1 gallon, simply because dissolved CO₂ buildup becomes more severe in a larger volume.
Yeast strain selection gets more consequential
At 1 gallon you can experiment cheaply. At 5 gallons, yeast choice carries more weight. The Homebrewers Association’s meadmaking guide highlights a few key considerations:
- Lalvin 71B ferments cleanly at moderate gravity, softens malic acid (adds roundness), and tolerates 14% ABV — a reliable workhorse for traditional meads and fruit melomels (meads made with fruit additions).
- Lalvin EC-1118 (champagne yeast) hammers through high-gravity must efficiently but strips delicate honey aromatics. It’s not wrong, but it’s the “brute force” option.
- Lalvin D47 produces excellent mouthfeel and preserves floral honey character — but it throws off heat as a fermentation byproduct and must be held below 65°F or it generates significant off-flavors. Owners consistently report D47 failures in batches fermented at room temperature above 68°F.
- White Labs WLP720 and Wyeast 4184 Sweet Mead are liquid options that offer more complex ester profiles at the cost of higher price and shorter shelf life.
For a 5-gallon batch where you’re investing serious honey dollars, yeast freshness matters — the same principle your beer-brewing instincts already apply to liquid beer strains.
What a Skill-Building Kit Actually Looks Like
The distinction between a kit that teaches you something and one that just ships you supplies is whether it systematically introduces you to the variables that control mead quality. Based on synthesizing MoreBeer’s beginner guide, BYO’s feature coverage, and Craft Beer and Brewing’s technical explainers, here’s what a genuinely educational mead kit includes:
Non-negotiables at any scale:
- Named nutrients — Fermaid-O and/or Fermaid-K, not generic “yeast nutrient blend”
- GoFerm or equivalent rehydration protectant for dry yeast
- A gravity measurement tool — even a cheap plastic hydrometer
- Instructions that explain staggered additions with timing, not just “add nutrient at start”
- pH strips or a basic pH meter — honey must typically drops to 3.5–3.8 and can go lower with some yeasts; extreme low pH stresses yeast and can stall fermentation
Honest assessment of the kit market as of 2026:
Most mass-market 1-gallon mead kits at the $25–$45 price point include the jar, the airlock, a packet of wine yeast, and a single generic nutrient packet. That’s not a bad starting point if you supplement with your own Fermaid-O and GoFerm purchased separately — both are widely available from homebrew shops for a few dollars. What you’re really paying for in the better kits is the instruction quality and the recipe curation, not the hardware.
At the 5-gallon level, kits in the $60–$120 range from established homebrew retailers tend to include better nutrient packages and more sophisticated guidance. Owners report the most satisfaction from kits that include a printed TOSNA calculator reference or link you to one — because doing the YAN math yourself, even once, is the moment the whole process clicks into place.
The Decision Rule
If you’re on your first or second batch: Start at 1 gallon. Not because the equipment is better or cheaper, but because three fast, cheap iterations teach you more than one expensive slow one. Spend $10 extra on Fermaid-O and GoFerm from your homebrew shop even if they’re not in the kit. Follow a staggered nutrient schedule. Use a hydrometer. You will produce a noticeably cleaner mead than the instructions alone would get you.
If you’ve completed 2–4 batches and understand your baseline: Step up to 5 gallons. The economics improve (bulk honey, less per-batch equipment overhead), and you now have enough process intuition to manage degassing, staggered additions, and temperature control at scale. At this point, invest in a carboy or small conical rather than another bucket, and start thinking about varietal honey — the difference between a wildflower mead and an orange blossom or buckwheat mead is dramatic enough that it will reshape how you think about the whole category.
If you’re consistently producing clean, well-attenuated meads and want to push quality further: The next lever is water chemistry (honey is pH-sensitive; starting with RO water and building up mineral content gives you control) and cold-crashing for clarity before packaging. Neither requires a new kit. They require better instruments — specifically a decent pH meter and a way to cold-crash, whether that’s a spare refrigerator or a small glycol setup if you’re already running one for beer fermentation.
The best mead kit is ultimately the one that treats you like a brewer, not a recipe follower — and teaches you enough about the underlying chemistry that you can diagnose and fix your next batch before it becomes a problem.